- Help & Advice
- How To Guides
- How to Add Inhibitor to Central Heating
How to Add Inhibitor to Central Heating
To keep your central heating system running efficiently, it’s important to carry out a little routine maintenance from time to time. This can range from simple tasks such as bleeding a radiator to release trapped air, to more involved jobs like flushing a central heating system to remove sludge, rust, and other debris that can restrict performance.
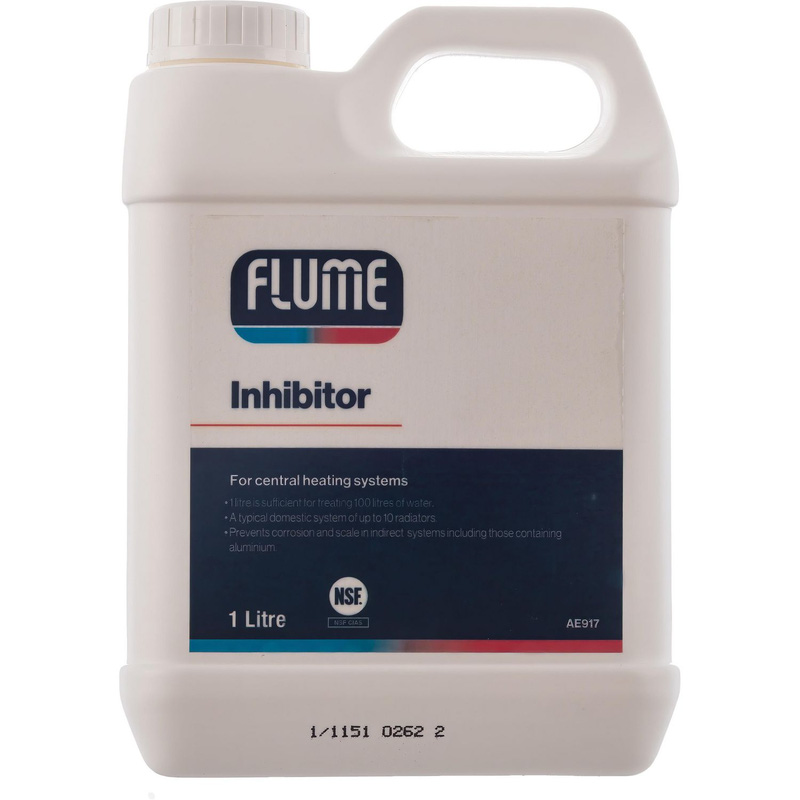
Another important but often overlooked aspect of heating system maintenance is adding central heating inhibitor. This specially formulated chemical helps protect radiators, pipework, and boilers from internal corrosion and limescale build-up, reducing the risk of potentially expensive repairs and helping your heating system operate more efficiently. In this guide, we'll explain what inhibitor does, when it should be added, and how to add inhibitor to a radiator safely and correctly.
Tip: Inhibitor is most effective when added to a clean heating system. If your radiators have cold spots, take a long time to warm up, or the water drained from the system is discoloured, it may be worth flushing the central heating system before adding inhibitor.
Essential Tools & Equipment

Why Add Inhibitor to a Central Heating System
Over time, central heating systems naturally accumulate sludge, rust, and other debris. This build-up occurs when the water circulating through the system reacts with the metal components found in radiators, pipes, and the boiler. As corrosion develops, tiny particles of iron oxide are released into the water. Because these particles are heavier than water, they gradually settle at the bottom of radiators, restricting water flow and reducing heating efficiency.
This is where central heating inhibitor comes in.
Central heating inhibitor is a specially formulated chemical that helps protect the internal components of your heating system from corrosion and limescale build-up. By creating a protective barrier on metal surfaces, inhibitor reduces the formation of iron oxide sludge, helping to keep radiators, pipework, and boilers clean and operating efficiently. The result is improved system performance, lower energy consumption, and a reduced risk of costly repairs.
Some of the key benefits of adding inhibitor to a central heating system include:
1. Prevents corrosion inside the system
Inhibitor forms a protective layer on the inside of radiators, pipework, and the boiler. This helps stop metal components from rusting over time, which is one of the main causes of heating system breakdowns.
2. Improves heating efficiency
When radiators are free from sludge and corrosion, hot water can circulate more freely. This means radiators heat up faster and more evenly, improving overall system performance.
3. Lowers risk of cold spots in radiators
By reducing internal build-up, inhibitor helps prevent the common issue of radiators being hot at the top but cold at the bottom.
4. Extends the lifespan of the boiler and system components
Less corrosion and internal damage means less strain on the boiler and circulating pump, helping the entire system last longer.
5. Reduces the need for costly repairs
By preventing internal damage early, inhibitor helps avoid more serious issues like pump failure, blocked pipework, or boiler breakdowns.
6 . Helps maintain system pressure and reliability
A cleaner system is less likely to develop circulation problems that can affect pressure and overall performance.
Step 1: Turn Off the Heating System
If your heating system is on, start by switching off your boiler and central heating, allowing the system to cool completely before starting work. This reduces the risk of burns and prevents hot water from escaping when the radiator is opened.
Step 2: Choose the Radiator then Protect the Surrounding Area
Ideally you’ll want to add the inhibitor to the highest radiator in your house or a towel radiator in your bathroom, they’re easier to access and generally result in less mess. Throw down some towels directly beneath the radiator to catch water drops or any spilt inhibitor.
Step 3: Isolate the Radiator
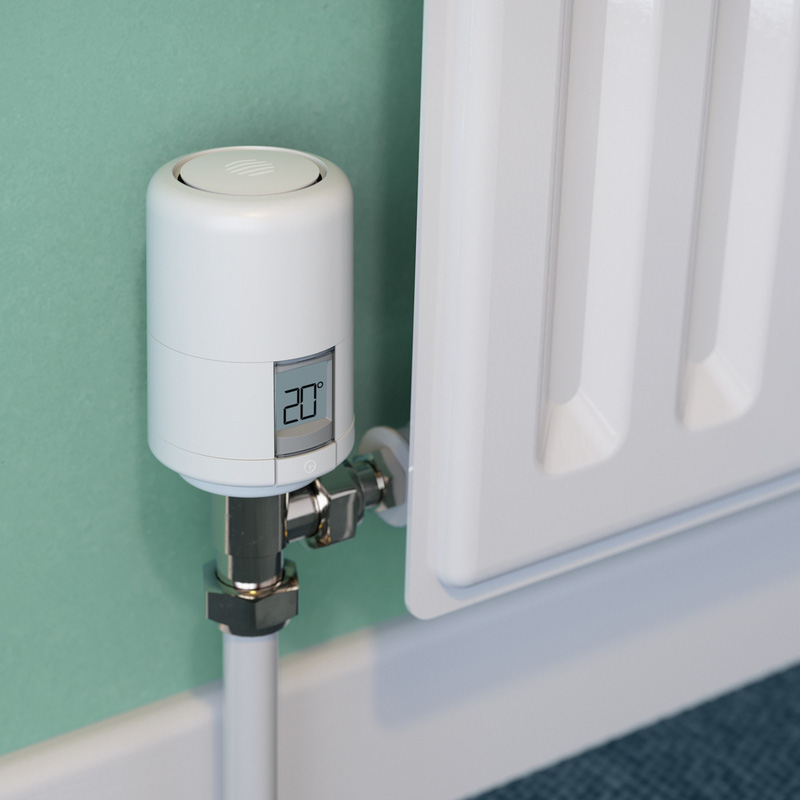
Turn both radiator valves clockwise to close them. Count the number of turns required to close the thermostatic radiator valve (TRV) and lockshield valve so that you can return them to their original positions later.
Step 4: Release Radiator Pressure
Use a radiator bleed key to slowly open the bleed valve at the top of the radiator. This will release any pressure within the radiator. Keep a cloth and container handy, as a small amount of water may escape from the valve.
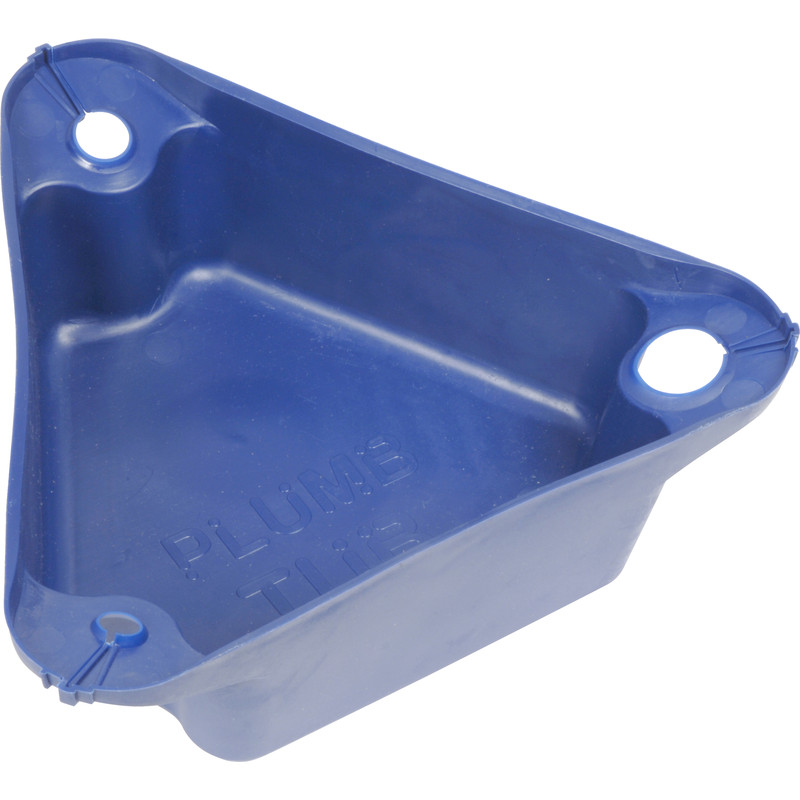
To make room for the inhibitor, you'll need to drain a small amount of water from the radiator. Position a plumb tub or shallow container beneath the valve nut that connects the radiator to the pipework. Using an adjustable spanner, carefully loosen the union nut (the horizontal nut connecting the valve to the radiator). Water should begin to trickle into the container.
If required, open the bleed valve slightly further to help the water drain more quickly. Remove approximately the same volume of water as the amount of inhibitor you intend to add. Once enough water has been drained, retighten the union nut securely, but leave the bleed valve open ready for the next step.
Step 5: Remove the Bleed Plug or Radiator Vent
The bleed plug is usually found on the opposite side of the bleed valve. Unscrew this using your adjustable spanner. Some inhibitor products are supplied with a special applicator designed to fit directly into the bleed valve opening.
Step 6: Add the Inhibitor
Carefully pour or inject the recommended amount of inhibitor into the radiator. A funnel can help minimise spills if the product is supplied in liquid form.
Once the inhibitor has been added, reinstall the bleed plug or vent and ensure it’s tightened securely, taking care not to overtighten.
Step 7: Reopen the Radiator Valves
Open both radiator valves, returning them to their original settings using the number of turns counted earlier. Don’t forget to close the bleed valve too.
Step 8: Turn the Heating Back On
Switch the heating system back on and allow it to circulate for at least 30 minutes. This helps distribute the inhibitor throughout the entire central heating system.
Step 9: Check the Boiler Pressure
If you have a sealed heating system, check the boiler pressure gauge after adding the inhibitor. Repressurise the system if necessary, following the boiler manufacturer's instructions.